OMAC Martial Arts
- Posted on
- 1219 Views
By Kirby James, 2nd Dan Black Belt, OMAC
At the Oriental Martial Arts College (OMAC), we study and teach World Tae Kwon Do (TKD) Federation (WTF) TKD, Song Moo Kwon and Hapkido under 9th Dan Grand Master Kim.
Students over 16 may be allowed to break concrete at their promotion test to 1st Dan and beyond, at the discretion of Grand Master Kim and/or Master Harrison.
What follows is my learning about how to break a brick or more than one at a time. This also applies to breaking multiple boards for the younger students. Please note this is knowledge I have learned from others who have gone before me and my own observations, compiled here for you.
5 Steps to Breaking
1) Preparation
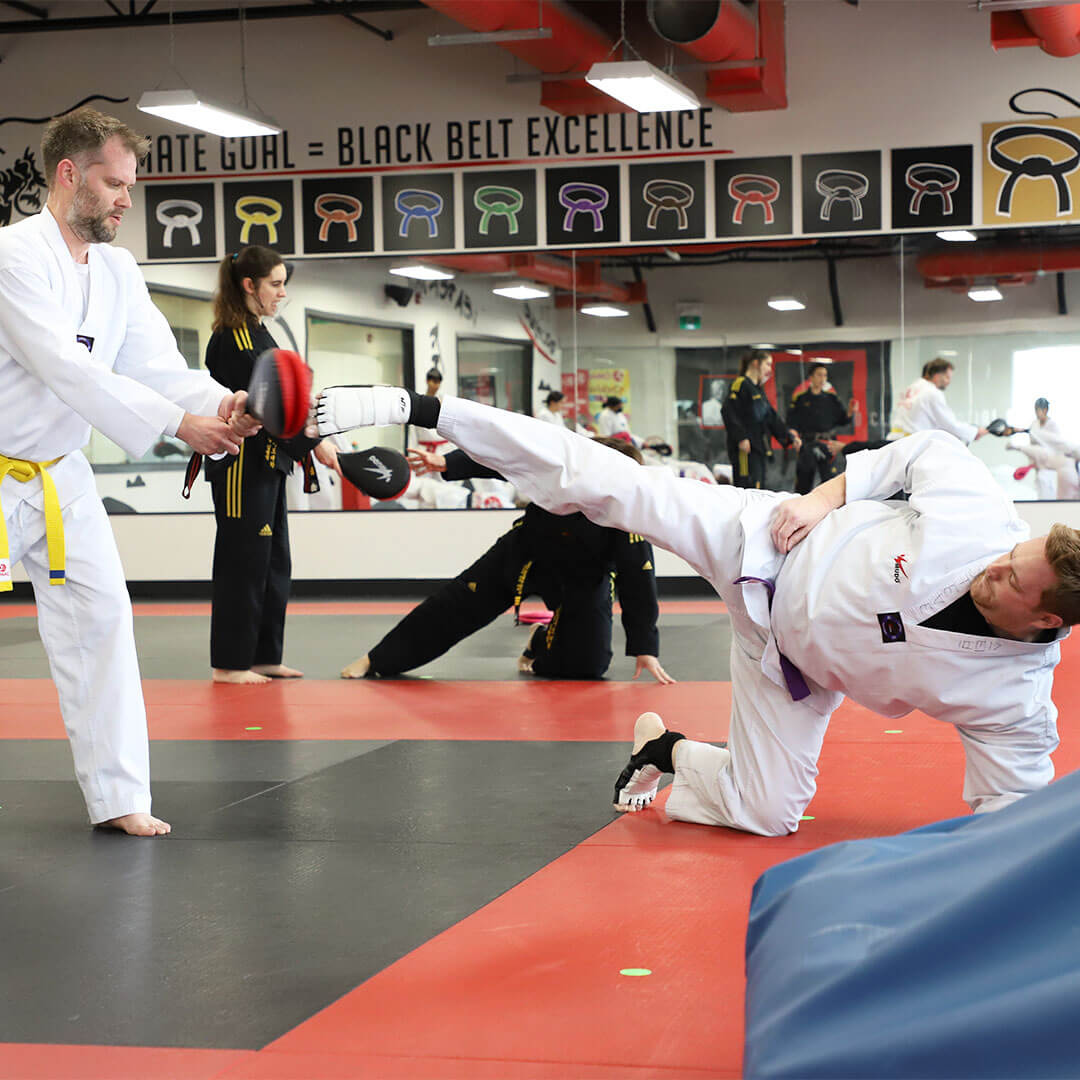
Physical: The journey to your first or next black belt test requires many hours of classes; the sit ups, push ups, cardio drills, kicking drills and core strength development. The journey to a black belt level is about preparing your body to perform the patterns and self-defence with power and control. To prepare for breaking concrete or multiple boards with your hand, you should begin weeks in advance of the test. Preparation includes technique and toughening of the hand.
Breaking technique is complex. It is not just about raising your hand above your head and whacking the concrete. This simple approach leads to injury and/or failure to successfully break the concrete. Successful breaking requires coordination of your entire physique. The hand is just the part that meets the concrete.
Steps involved in preparation to break concrete include:
- Practicing proper body and arm movement. Breaking is a whole body effort, not just a hand or arm.
- The arm and hand rise in a 90 degree angle in line with the body
- The torso coils away from the concrete and then is unleashed to add your core strength to the strike
- As well your entire body rises on the back swing and falls as you strike, engaging your legs into the motion.
- Your hand must be coiled into a very firm fist, with no spaces between your fingers and palm
- The sequence is to
- Make a fist
- Get in proper position (see set up below)
- Rise up, coil your torso, raise your arm and hand to maximum height
- Uncoil your torso, drop with your legs and strike down at the target
- Learning how to aim. The weakest point of the concrete block is just inside the outer edge in the centre. It is not in the absolute centre of the block based on engineering research. When you consider your whole body is twisting, the legs are moving and arm and hand are quickly descending it becomes very challenging to hit the desired target. Use a practice target with tape or something marking and develop the skill to hit the target every time. Video is excellent to help you with this.
- Toughening the hand. Runners practice in part for fitness and in part to stress their bones to the demands of running. Power breaking in TKD requires toughening of the hand. This is accomplished by exposing your hand to increasing stress in the weeks leading to the break. A very good technique is use of a training board shown below. These are easily made by someone with skill using a saw. The cuts in board allow it to flex a little. Toughening the hand requires that you form a powerful fist like will be used to break and repeatedly hitting the board. One approach is rapid striking with about 20% of maximum force. By doing this for several minutes a day, every day the bone density increases in response. Once you have completed this training approach for several weeks, slowly increase the power to continue toughening the hand.
- Practice break. Some people choose to do a simulation about 2 weeks before the test. Some colleagues of mine have taken a tinfoil lasagna pan, filled it with about 1” (2.5cm) of water, placed this in the freezer (it MUST be level so it freezes the same thickness in all directions). Once you have a solid sheet of ice, create a setup similar to your actual break and then break the ice. NOTE: if you do this safety glasses are a MUST as ice shatters and can be a severe hazard to your eyes. If you wish, you can increase the thickness of the ice however caution is advised. Breaking is tough on your hand. My advice is do not do this too close to your test. For advanced belts, you can add additional sheets as needed for 2nd and 3rd Dan tests.
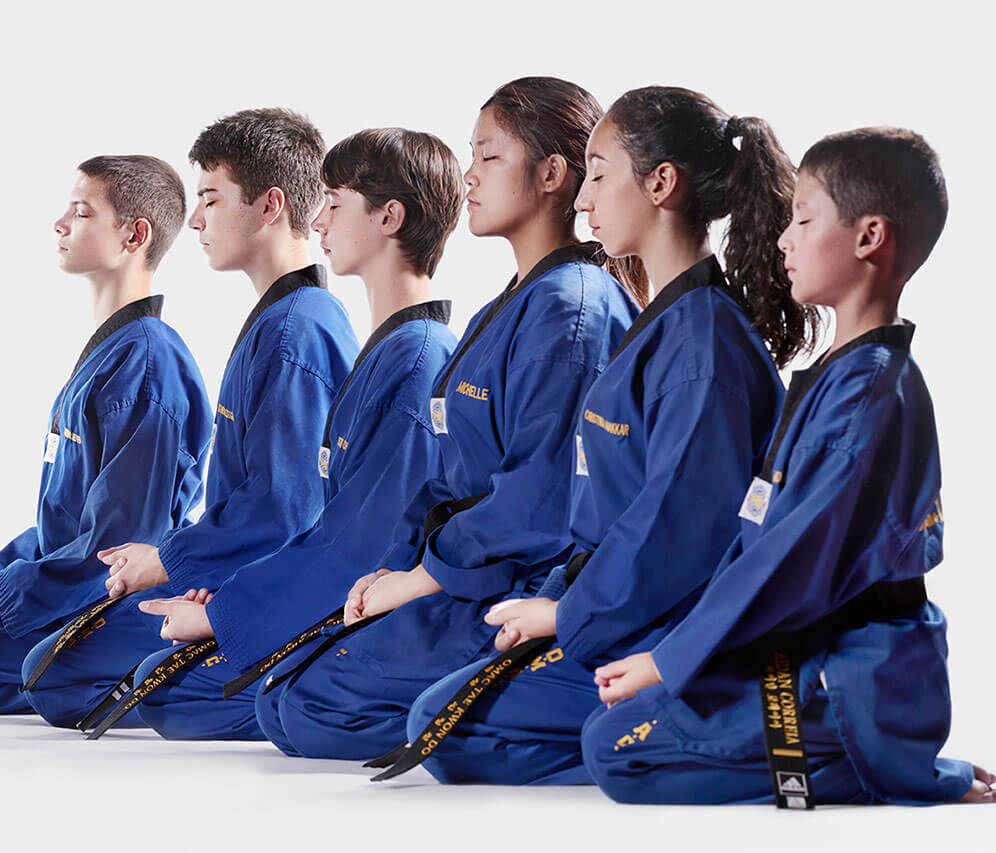
Mental: Through the physical journey as students we are challenged to go from powerful physical work and then very quickly shift into quiet, reflective mindfulness. We meditate at least twice a class and are required to meditate for 8 hours as part of the preparation. For those who honour the old ways, the 8 hours of meditation is preceded by one or more days of fasting to deeply challenge you. Ultimately the mental discipline we learn is to empower us to focus, in TKD or outside with a level of control that is an example of being a “black belt”.
2) Approach
So what do you do before it is your turn to break? Likely you have performed your patterns, demonstrated skill in self-defence (hapkido), sparring and possible weapons. You are sweating, excited by the test day and now have to wait. To me this is when the black belt person emerges.
The time between your last demonstration and that much anticipated break is when we get to see your discipline and ability to focus.
Everyone is different, prepares in their own way. My view is about the result. When your name is called to go up alone in front of all of your TKD community, usually several hundred people, you are focused and ready to succeed in breaking your boards or concrete.
Some people meditate as we have been taught (my preference). While meditating visualize yourself doing the entire break, from walking up through to bowing after you succeed. Meditate on it, hold it clear in your mind.
3) Set Up
Once your name is called, everyone has their own routine. Some people yell, others walk up quietly. Some will demonstrate a stance and focus their power.
Once your breaking station is set up by your teachers here is my advice:
- Bow to the head table to show them respect. It is a way of saying thank you for their confidence in you that you can do this
- Place your front foot beside the supports holding your target. You should have practiced this many, many times before as you practiced aiming.
- Once your feet are set, focus on the target. While doing this, prepare your striking hand. Most people do “hammer fist” so clench your hand into proper position
- Align your hand to your target. Touch or hover over the target. Again see yourself breaking the target successfully. Some people now do a few practice swings.
- Pause, breathe, focus.
4) Strike
Remember when you practiced hitting the target? Coiling your body, rising then falling to strike the target, clenching your hammer fist, unleashing your hand at the last minute ….
After your approach and set up which may take 10 to 100 seconds or more, the strike happens in a flash.
Yes, you rise and coil your torso away from the target. Yes, your arm rises, hammer fist clenched. Your legs straighten and when you reach as high as you will go DO NOT PAUSE.
Part of the technique is to rise slowly and fall quickly, with no hesitation at the top of the rise.
Now for your shoulders.

When you drop, lead with your ELBOW. Yes, elbow. That way you prevent your hand from swinging low too soon. From my review of hundreds photos of board and brick breaks, the best position for your hand when you strike the target is when your hand is just below your elbow.
Like every break you have done so far, the target is actually in the way of your movement. You always go THROUGH the target, never stop at the target, as if the real target was 6 to 10 inches BELOW the strike point. This is a huge part of the breaking process.
As for your kyup … some people say you kyup before your strike. Others say after. Some say when you make contact. It is personal.
Whichever you choose, make sure it is a key part of your practice sessions. Improvising on the test day can result in you releasing energy before you want to.
No matter your style, the break is done when your hand has passed through the target, there are broken pieces of board or brick on the floor, you have screamed as loud as you can and the applause of your peers, friends, teachers and observers fills the school
5) After the break
To me this is where people show their true colours. You have succeeded, you are excited and want to celebrate. This is where your mental training needs to be demonstrated. After the break, stand up, come to attention and then bow to the head table to show respect. You may even say thank you. Yet you are still not done. Please clean up your mess. Other people will help yet these are your boards or cement pieces. Help pick them up, be an involved part of the community.
Now, with the broken pieces cleaned up, leave the mat and show respect to the next person preparing for their test. Don’t talk too loud too long. Your time to celebrate will come, just show discipline and respect for others around you.
Final Thought
Approaching the breaking process with discipline, planning and preparation will not just result in success at the break it will do something more important. You will be the black belt you have been training for.
May this have been of some help to you.
Mudo
Kirby James, 2nd Dan Tae Kwon Do OMAC